
Growing microgreens - getting the watering right.
Microgreens don’t need many of resources to grow well, but they DO need water, hence today’s blog post!
Watering your microgreens is not complicated, but it is a crucial task you need to get right; especially when growing microgreens commercially.
Stick to these few, simple rules and you’ll grow consistently amazing (properly watered) microgreens!

The type of water to use!
Yes, this needs to be covered! … I highly recommend watering your microgreens with fresh tap water.
If you like to filter your water generally, then by all means filter it for your plants too, but it’s not necessary and microgreens grow very well and hold all their nutrients without it.
Definitely don’t use re-used water or standing water. Standing water can be a huge breeding ground for bacteria and you don’t want that being absorbed by your microgreens. If you want to save and re-use water from your de-humidifier, for instance, I recommend saving it in a water butt outside to water garden plants with or just water your outdoor plants directly with it.
Soaking, sowing and germination
As soon as your microgreens seeds become wet, the incredible process of germination is kick-started. When your seeds have fully absorbed enough water, that’s when they start to push out their roots and shoots. A magical process that keeps life on Earth going!
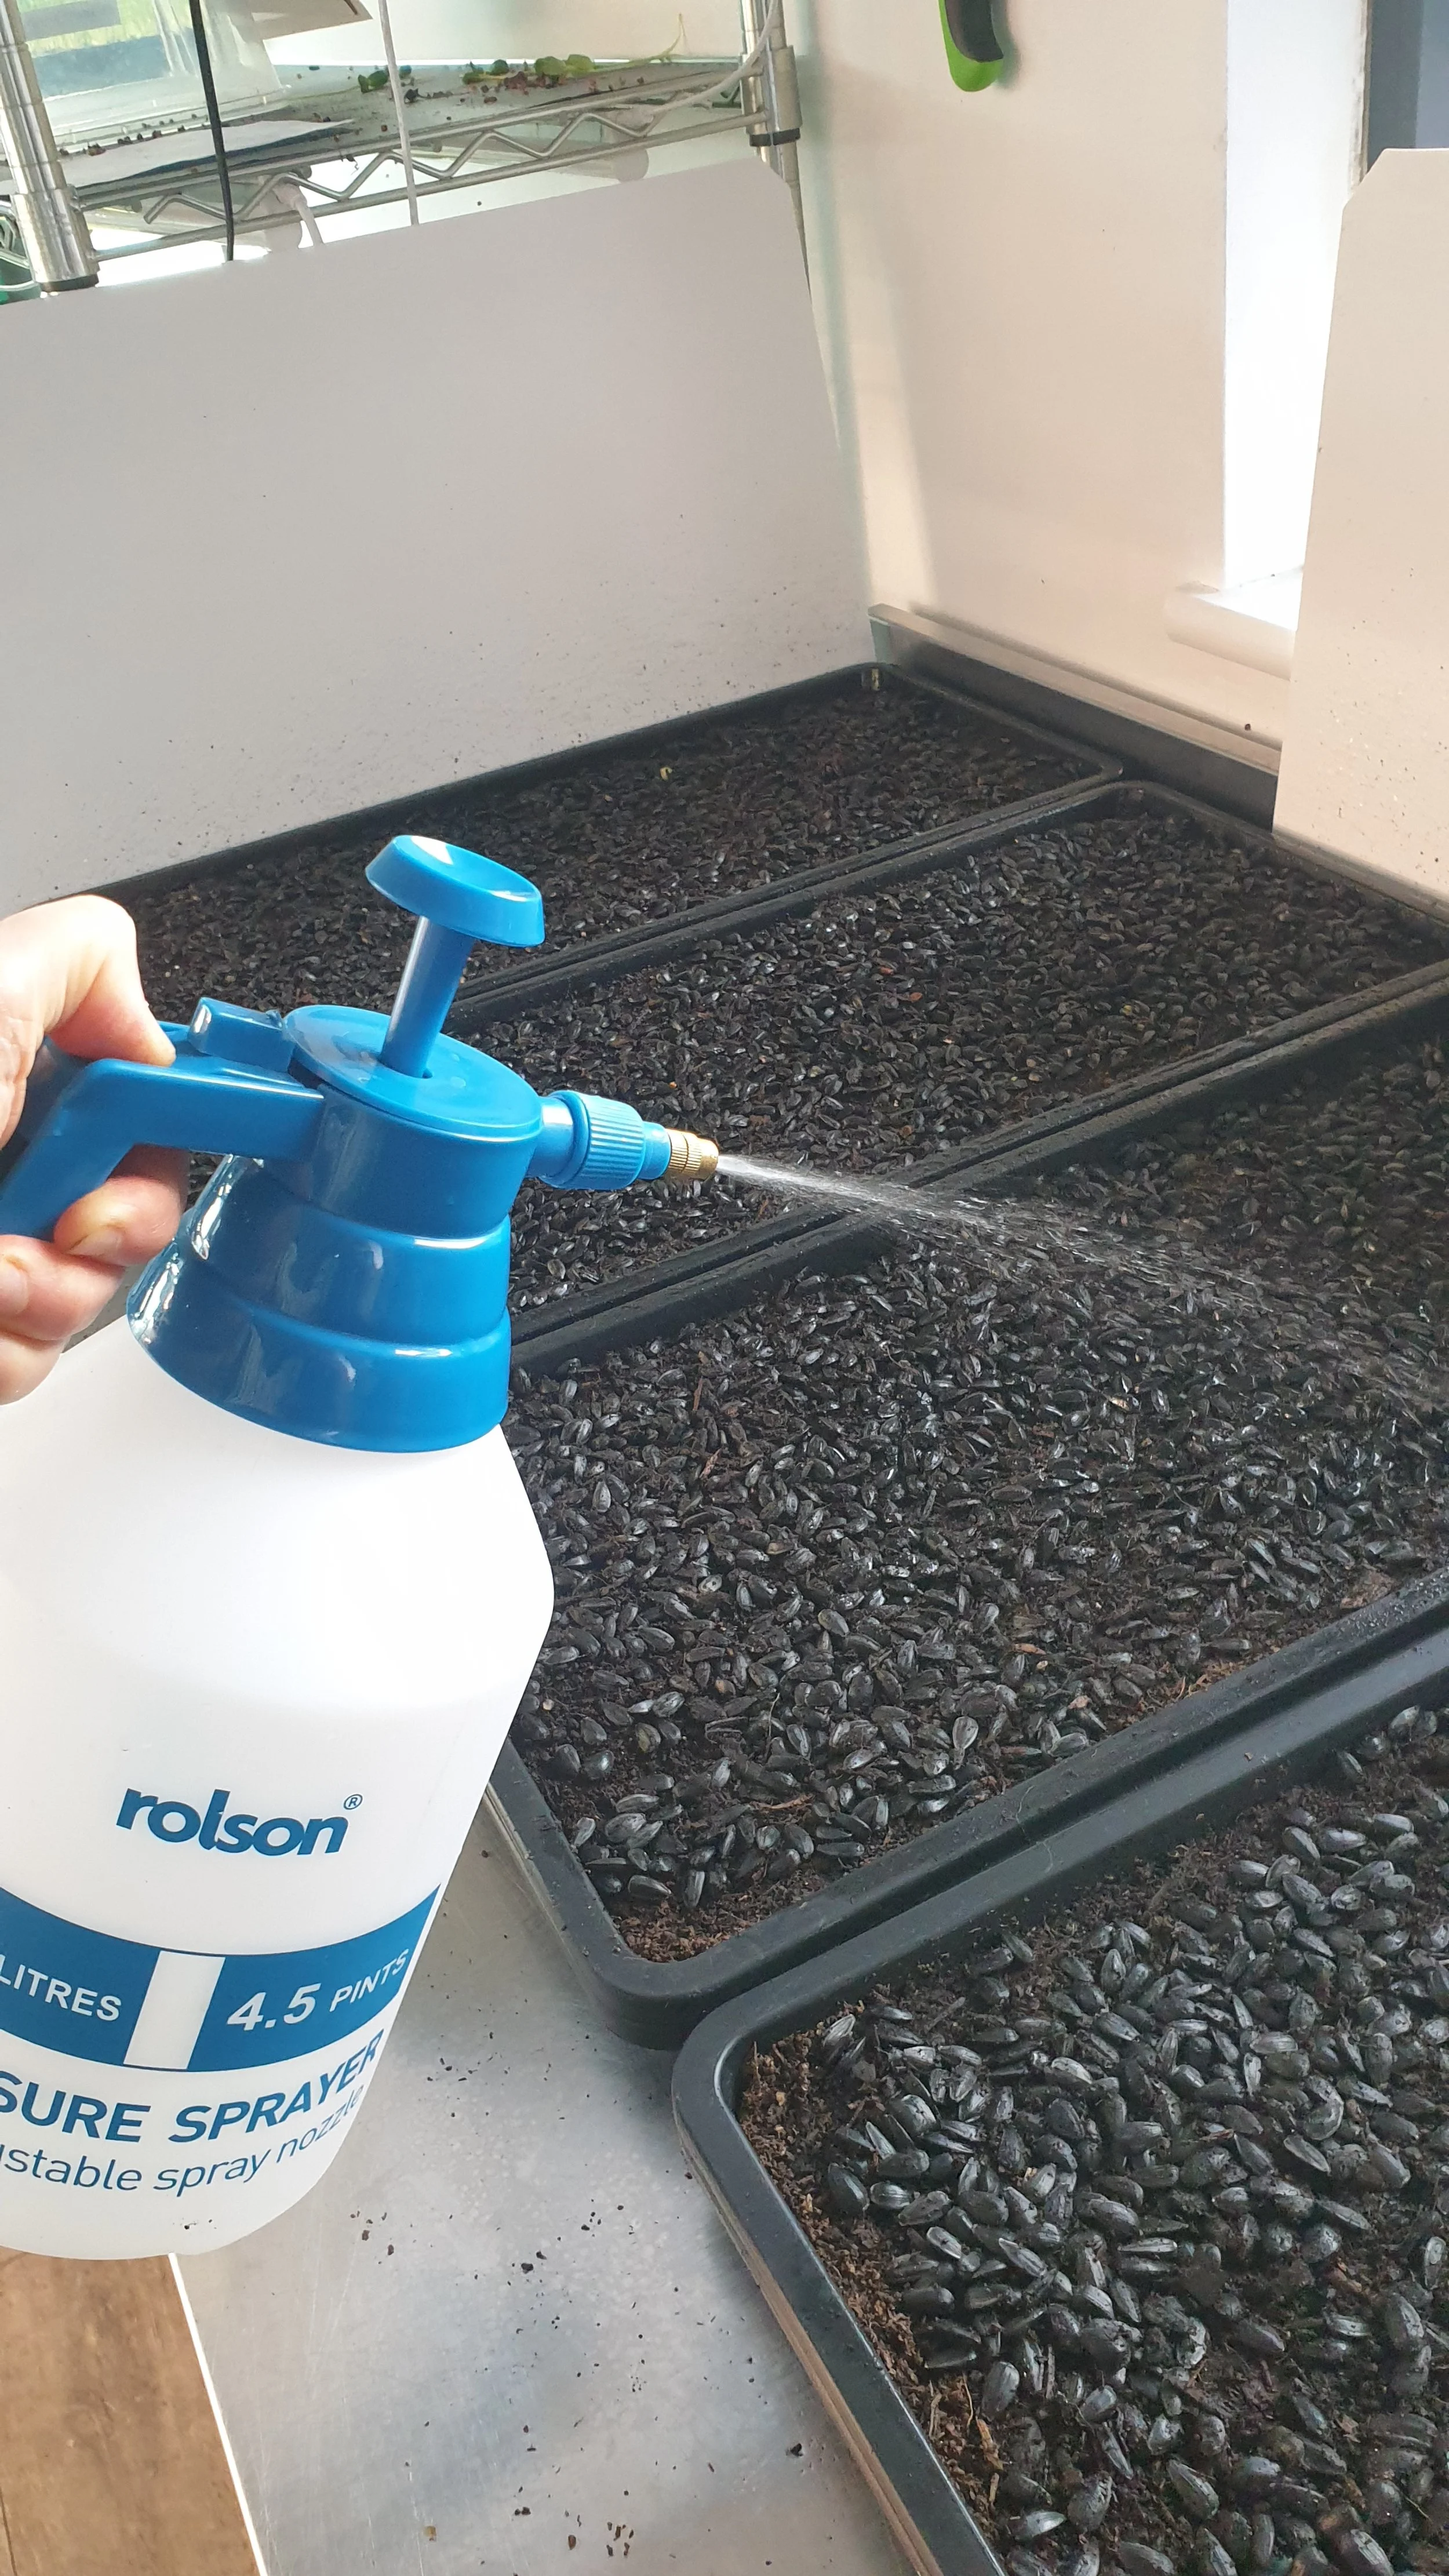
Some larger seeds, such as pea, sunflower and nasturtium are usually soaked in water over night. This gives them longer to fully hydrate, which will speed up germination. Smaller seeds, such as radish, brassicas, chive, coriander, are fine to be just sprayed with water after sowing onto your medium and don’t need a longer soak.
After sowing, if all your seeds and medium are watered throroughly (but not waterlogged), then they shouldn’t need to be watered again until they’re ready to come out of germination. 2 exceptions to this rule are:
If during daily checks you notice some visibly dry areas on your seeds or grow medium, then give them an additional light spray of water. This can happen if you haven’t watered them enough during sowing, or when it’s been particularly warm.
If you can see some whispy white mould (usually developed on compost), then give this a light water spray too and it helps to disperse it.

Watering growing microgreens
Once your grow trays are out of germination and in the fresh air and under light, now’s the time to give them their first big water. I recommend ‘bottom watering’ throughout their grow cycle. This will prevent the canopy of your greens getting wet and potentially turning to mush. Plus, plants absorb water through their roots anyway, so it’s only this part that needs watering. Fill the bottom watering tray with fresh water until the whole surface area of the tray is covered.
Tools for the job - a watering can or a hose pipe, fresh water tap.
If you’re indoors, and especially if you’re in a small room in your house, you probably don’t want to use a hose. It may take a little longer with a watering can, but this is still my preferred method of watering. It definitely takes me longer to dry up spills and drips from the hose in my small grow room! I have 2 watering cans - one filling at the sink, whilst I water with the other and I’m done in no time. It takes me around 15 - 20mins to water around 75 trays.

Hand watering versus automated watering
Watering your microgreens can be automated. If you have a large growing system, then this might be worth looking into.
The 4 reasons I’ve never chosen to automate my watering:
Getting the water level exactly right for all your crops at once can be complicated and can differ with some crops day to day.
I get chance to check my crops regularly when I water by hand.
I can feel the weight of my trays and know if that crop needs any more water and how much. For instance, my sunflowers need to be watered more than my leek.
It’s a really quick task anyway!
How much and how often to water your greens
This is not set in stone and you’ll quickly get into your own rhythm for your growing environment, but….
Here are my 6 top watering tips that have come out of my experience from years of growing microgreens:
1. Always bottom water your crops for the first time as soon as they come out of germination and are in their growing position.
2. Water enough for the surface area of the bottom tray to be covered.
3. Over-watering can be more problematic than under-watering. Over-watering can lead to root rot and leave the canopy of your greens very wet. If you're growing the smaller, more delicate varieties too such as brassicas, coriander, leek etc... it can cause their foliage to start rotting. You also don't want wet greens on harvest day. They need to be dry before packing to stop them deteriorating quickly in their paackging.
4. As a rule of thumb - water when the bottom watering tray is just dry. As an example, I generally water all my growing greens every other day and never the day before harvesting (unless it’s very hot!). My grow room is small and full, so humidity levels are generally on the high side. If you have humidity levels regularly sub 60%, you may need to water daily. During warm summers you’ll need to water daily too when temperatures are higher. The best thing you can do is get to know your greens and their needs! If a tray feels particularly light for instance, it needs a water. If it feels heavy from the last water, then leave it.
5. Don’t worry (too much) if you forget to water the big ones! Especially sunflower and radish. They’re very forgiving. If they dry out too much, they’ll wilt over, but you’ll still have a window of time to give them a good water and they’ll spring back up a few hours later! Smaller crops are less forgiving, so keep an eye on those.
6. To keep your watering time efficient, block out time in your task timetable each week to water. That way it ensures it gets done and you’re not wasting time checking too much and just adding a little bit of water at a time at irregular intervals.
If you want to kick-start your microgreens business, then I recommend having a good read of my FREE, 14-page
UK Microgreens Mini Business Guide (it’s really good!)
Download now to get it sent straight to your inbox!
In your guide, you’ll get:
5 great reasons for starting a microgreens business in the UK right now
A basic equipment list
A step-by-step guide to growing and harvesting radish shoots and pea shoots, including UK pricing suggestions and profit margins.
A how-to guide to selling your microgreens to chefs, restaurants and your local community.