
Maximising the shelf life of your microgreens for your customers
A huge unique selling point (USP) of growing and supplying fresh microgreens on a small-scale to your local community, is that they’ll have a great shelf life. Much longer than the equivalent microgreens and microherbs that can be bought from the supermarket, or through a wholesale distributor by cafes and restaurants. You’ll be able to get your microgreens quickly to your customers, usually within 24 hours of harvesting, which will preserve their freshness. No more mushy fridge salad a day after being bought!
Fresh, high quality microgreens will be packed with better nutrition, texture, appearance and flavour - exactly what your customers want! And because they’ll last longer, food waste will also be reduced. All these qualities are likely to get you return custom over and over again.
In today’s blog post I want to explain how to grow, process and store your microgreens properly so they reach your customers in tip top condition!

1. Growing
I could write a full book on growing excellent quality microgreens, but for this post I’ll just highlight what’s important to keep them fresh for longer. Well-grown microgreens will store better and for longer than poorly grown microgreens. You’re always aiming for uniform, optimally watered, disease and mould free crops. As an absolute minimum, ensure you’re using high quality microgreens seeds and grow medium (such as compost) and you have a clean grow room with plenty of airflow through it (use fans for this).
2. Drying and Harvesting
Ideally your microgreens will be dry when you harvest them. Keeping an optimum temperature (21Cish), humidity (50%ish) and a good amount of air flow through your grow room can massively help with this.
However, due to transpiration and then potential condensation on the leaves, some varieties may be a little damp on harvest day. If they are, I recommend leaving them under a small fan overnight the night before harvesting. Leave the fan on a medium setting and not too close, as you don’t want to dry out your growing medium. Once harvested, if your microgreens are still a bit wet, spread them out on a drying rack under a fan. Just for a quick cool blast though. If you over dry them, they’ll just completely wilt and be ruined. For a ‘drying rack’, I use mushroom or blueberry crates that I got for free from the greengrocers (always fully wash and sanitise these between uses). They’re great for drying in!
Always use a sharp implement to harvest your greens with too. This can be a knife or scissors (I prefer a knife for the larger greens, scissors for the smaller ones). If you cut with a blunt tool, you’re more likely to rip the shoot rather than cutting cleanly. A rough cut is much more likely to discolour and go bad quicker in storage.
3. Packaging
It’s crucial to package your microgreens properly to ensure freshness and a good fridge life. 2 elements that help maintain the freshness of your microgreens is storing them: air tight and cold. This is a great tip to share with your customers too, especially in restaurants. Chefs will be able to keep their produce fresher for longer by returning them into their packaging (and closing the lid) and the fridge whenever not in use. This is especially important in hot kitchens!
To maximise the shelf life of your greens, your pacakging needs to be:
Rigid to prevent your greens from getting squashed (that’s why I prefer clamshells or Tupperware rather than plastic/compostable bags)
Have an airtight seal - this is really important to prevent your micros from wilting and massively reducing shelf life.
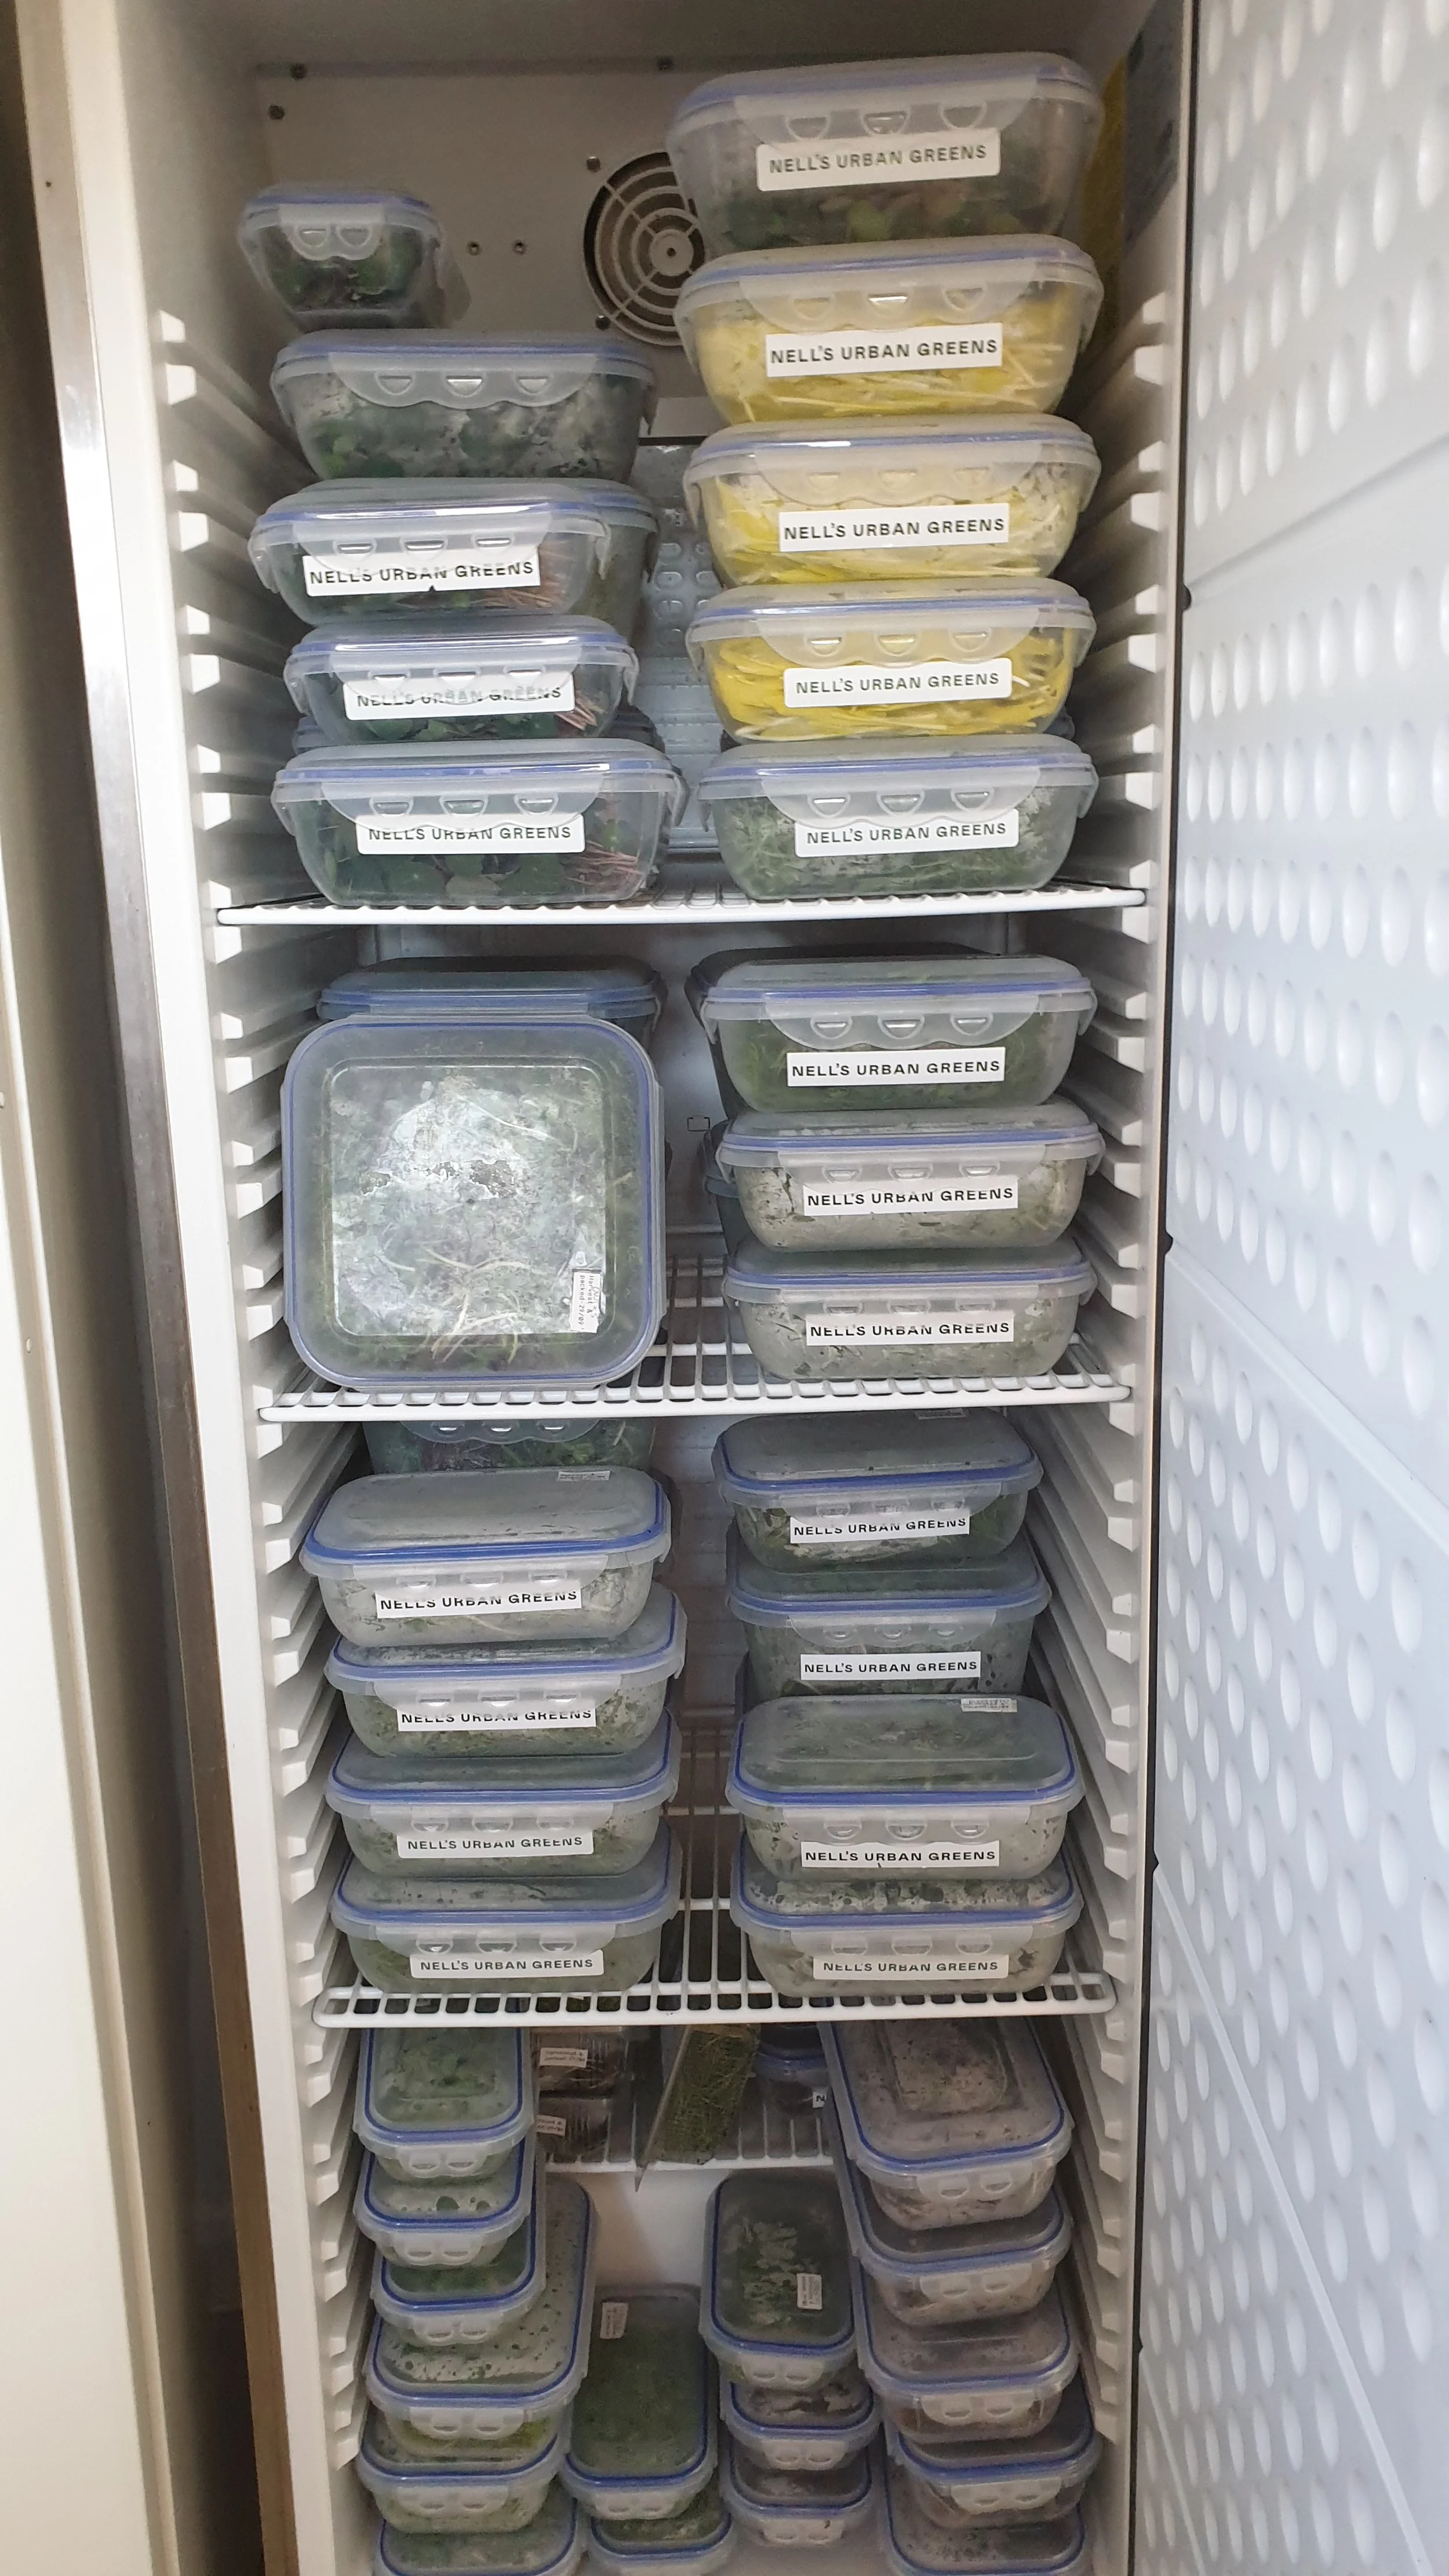
4. Storage
As soon as your microgreens are in their air tight packaging, get them in the fridge as soon as you can. An ideal temperature to store microgreens at is 5C. If you have a market to go to for the day or a long delivery run, put your produce straight in a cool box, with cool blocks.


This kind of info doesn’t tend to be the most sought after from microgreens growers, but it’s hugely important.
Amazing quality greens, that reach your customers in less than 24 hours, and have been processed, packaged and stored well will ensure they’ll keep their high quality for longer.
If you’re known in your community as the go-to supplier for the best quality microgreens in town, then your sales are going to soar!
It’s all in the detail.
If you’re new to all this and would love a quick start guide to get you going, then here’s my 14-page, content-packed Mini UK Business Guide
And I’m gifting it to you for FREE!
In the guide, you’ll get:
5 great reasons for starting a microgreens business in the UK right now
A basic equipment list
A step-by-step guide to growing and harvesting radish shoots and pea shoots, including UK pricing suggestions for these and profit margins.
A how-to guide to selling your microgreens to chefs, restaurants and your local community.